For many, iPhones are the go-to device for managing their lives. Whether you’re checking emails or managing your bank accounts, iPhone’s many features can become an indispensable tool in the modern world. But what about setting up your voicemail? For those unfamiliar with iPhone’s features, voicemail setup can seem intimidating. But fear not! This step-by-step guide will walk you through the basics of setting up voicemail on your iPhone.
Before you begin, make sure that you have a data or Wi-Fi connection and your iPhone is updated to the latest iOS version. Once you have checked these requirements, you’re ready to begin the setup process. Follow this guide to ensure that your voicemail is configured correctly for maximum functionality.
Step 1: Accessing the Voicemail screen
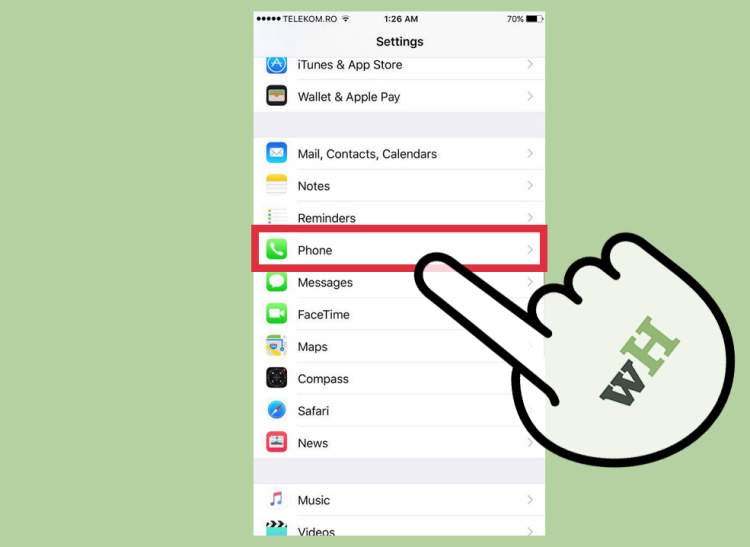
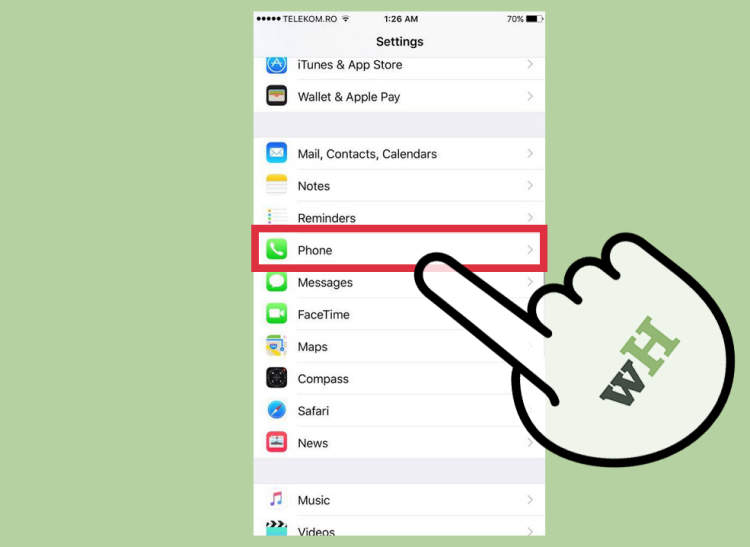
The first step to setting up voicemail on your iPhone is to access the voicemail settings screen. To do this, go to your application list in the home screen and select the ‘Phone’ icon. On the ‘Phone’ screen, you will see a tab labelled ‘Voicemail’. Select this tab to enter the voicemail settings page.
Once you are on the voicemail settings page, you will see a list of options that you can set up relating to your voicemail account. Below are the steps you should take to enable and customize your voicemail:
- Select ‘Set Up Now’. This will take you to the Set Up page, where you will need to enter your phone number, carrier name, and your voicemail password.
- Select ‘Save’ to save the information you have entered.
- Select ‘Customize’ to open the Customize page, where you can change the settings for your voicemail account.
- Select ‘Send’ to confirm the changes you have made.
Step 2: Configuring Your Voicemail Settings

Voicemails can be a convenient way to communicate when out of office, or if you simply don’t feel like talking. Setting up voicemail on your iPhone is easy and in just a few steps you will be able to access your voicemail anytime.
To Configure your voicemail settings, do the following:
- Go to your Phone app.
- Tap Voicemail in the lower right corner.
- Tap Set Up Now on the Welcome message screen.
- Create a voicemail password. This password should be between 4-6 digits.
- Re-enter your password for confirmation.
- Set the remaining voicemail settings to your preference.
- Tap Done to complete the setup.
Once you have set up your voicemail settings, your voicemail is now active and you will be able to access your voicemail anytime. Please remember to create a strong password to ensure your voicemail remains secure.
Step 3: Recording Your Voicemail Greeting
Recording a voicemail greeting is one of the most important steps when setting up voicemail on your iPhone. You can create and record your own personalized voicemail greeting. Here are the steps to follow:
- Tap “voicemail” in the Phone app.
- Go to the “Greeting” Tab.
- Tap “Record”.
- Start speaking the greeting, then tap “Done” when you’re done.
- Press “Review” to listen to your recording.
- Once you’re satisfied with your recording, tap “Save”.
Make sure to include your correct name when recording your greeting. This will make sure your callers know it’s your voicemail that they are listening to. It’s important to ensure all the necessary information like your name, contact info, and other details are included.
Conclusion
Setting up voicemail on your iPhone doesn’t have to be a daunting task. With this step-by-step guide, implementing a voicemail system is easy. Simply following the steps provided above, you will be able to have a reliable voicemail system up and running on your iPhone in no time. This helps to ensure that you will never miss an important call.
Whether you’re looking to receive work-related calls or to stay in touch with important contacts, voicemail is an essential communication tool. With this guide, you should now have all the necessary tools and information to set up your voicemail on your iPhone. Enjoy!