How to Record Audio on Your iPhone
You don’t need an expensive microphone or recording studio to get amazing audio quality for your recordings. With modern smartphones, you can easily use the built-in microphone of your iPhone to record audio with great sound clarity.
In this article, we will be discussing the process of how to easily record audio on your iPhone. We will discuss the different options available for you to select from to ensure that you achieve the highest quality audio recordings from your device. With these tips and tricks, you will be able to capture and save your audio with greater efficiency.
Setting Up the iPhone for Audio Recording
Making audio recordings on the iPhone is a quick and easy way to capture important moments or memorable conversations. It is helpful to follow these steps to set up the iPhone for audio recording so that recording and playback are as smooth as possible.
Close Unnecessary Applications
Before using the iPhone for audio recording, it is best to close any applications that are running in the background. Apps running in the background can interfere with the recording process and can also reduce the quality of the audio. To close an app, double-click the Home button, then drag the app from the bottom of the screen and swipe it off the top of the screen.
Adjust Audio Settings
The iPhone settings can be adjusted in order to optimize the audio recording. To do this, open the Settings app and tap on the Music icon. From here, select the Volume Limit option, then adjust the volume limit slider to the maximum volume.
Connect Headphones
Connecting a set of headphones to the iPhone greatly improves the audio quality of the recording. This is because headphones act as a sound amplifier and help to isolate any background noise.
Test the Audio Recording
Before making an actual recording, it is helpful to test the audio settings by recording a few seconds of sound. This will allow you to make sure that the audio quality is set up correctly and that there are no technical issues with the recording equipment.
Using Voice Memos
Voice Memos is an app that comes with your iPhone and is one of the easiest ways to record audio on your device. It can be used to record lectures, conversations, and other audio content for a variety of purposes. Here are a few steps you’ll need to take to set up and use Voice Memos on your iPhone.
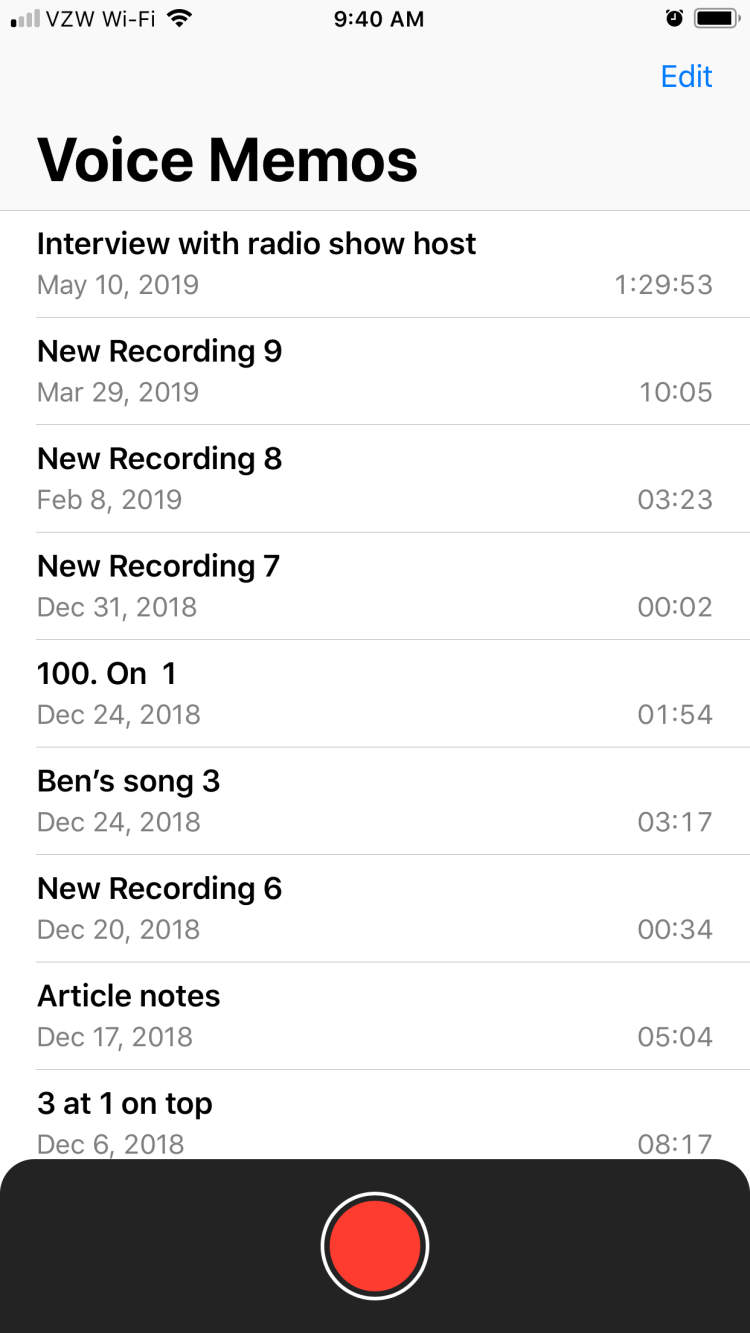
Step 1: Open the Voice Memo App
The first step is to open the Voice Memo app. This app is usually located on the first page of Apps on your iPhone. Tap the Voice Memo icon and the app will open ready for you to make your first recording.
Step 2: Set Up the Audio Settings
Before you start recording, you’ll want to check the audio settings to make sure they’re suitable for what you want to record. In the Voice Memo app, tap the gear icon to bring up the settings page. Here, you can adjust the recording quality, microphone sensitivity, and other settings. Once you’ve chosen your preferred settings, tap the back button to return to the app’s main page.
Step 3: Start Recording
Once the settings are adjusted, you’re ready to start recording. On the main page of the Voice Memo app, tap the red button to begin recording. You’ll then see the words “Recording” in the center of the screen and a timer displaying the recording length. When you’re done recording, tap the red button again to stop the recording and save it.
Step 4: Listen to the Recording
When you’re done recording, you can listen to the recording by tapping the play button. You’ll then be able to review the recording and make sure it’s what you wanted. If you need to make any edits, you can do this on the main page of the Voice Memo app. You can trim the recording, delete portions, and add markers for easy navigation.
Step 5: Share Your Recording
Once you’re satisfied with your recording, you can share it with others. To do this, tap the share button and you’ll be given the option to share the recording via email or various other platforms. You can also save the recording to your device’s Camera Roll and other places.
Step 6: Delete Unneeded Recordings
Once you’re done with a recording, you should delete it from the Voice Memo app. This will help prevent your device from becoming cluttered with unnecessary recordings. To delete a recording, simply tap the Trash icon next to the recording and it will be deleted.
Recording audio on your iPhone is a simple process and Voice Memos is one of the easiest and most efficient ways to do it. With this app, you can quickly and easily record audio content and then share it with others or save it to your device.
Using a Third-Party App to Record
Many modern mobile devices come with audio recording capability, but sometimes it can be limited in terms of quality and features. In such cases, you may want to consider using a third-party app to record audio on your device.
Using an app to record audio on a mobile device can offer a wide range of benefits. For example, third-party apps often come with a wider range of features than those found in built-in recording apps. Additionally, the third-party apps may include features such as noise reduction settings, additional file formats, and more.
Recording audio on your iPhone using a third-party app is simple. Here are the steps you should follow:
- Download and install a third-party recording app on your iPhone
- Open the app and click on the “Start Recording” button
- Set any recording options as needed, such as noise reduction or file format, and then click “Start”
- Start speaking or recording the audio and click the “Stop Recording” button to finish
- Once your recording is finished, you can save it and export it as needed
Using a third-party app to record audio on your iPhone is an easy and effective way to get better quality recordings than you would with the built-in app. Plus, you get access to a wider range of features and settings.
Conclusion
On your iPhone, you can quickly and easily record audio without downloading and opening any third-party apps. All you need to do is navigate to the Voice Memos App under your Home Screen, press record, and start speaking. From there, you can share your audio with friends and family via social media, or even edit it using the app. No matter what your needs are, voice recordings on your iPhone can be a great asset.
So if you have an iPhone, we highly recommend exploring the Voice Memos app for all your audio recording needs. It’s fast, easy, and versatile, making it one of the best tools to record sound when you’re on the go.
Post a Comment for "How to Record Audio on Your iPhone"