Are you having trouble transferring your photos from iPhone to your computer? You’re not alone. Many people face issues when it comes to moving files from iPhone to PC. Fortunately, there are plenty of easy-to-use methods available.
In this article, we discuss the various ways to transfer pictures from iPhone to computer. We will discuss both the traditional approaches to transferring photos as well as using modern apps to do the job. We’ll look at the advantages and disadvantages of each method before discussing the best and most convenient way to move your photo files.
Step One: Connect Your iPhone to Your Computer
Before you can transfer photos from your iPhone to your computer, the first thing you need to do is connect your iPhone to your computer. This can be done using the charging cable that came with your iPhone.
Instructions:
- Locate the charging cable that came with your iPhone.
- Plug one end of the cable into the charging port of your iPhone.
- Plug the other end of the cable into an available USB port on your computer.
- Wait until your iPhone appears on the computer screen.
Step Two: Find Your iPhone in File Explorer

Once the iPhone is plugged into the computer, you can find it in File Explorer. There are several ways to access your iPhone in File Explorer. Depending on what version of Windows you’re running, you may need to do a bit of digging, but here are the most straightforward methods for accessing your iPhone in File Explorer:
- For Windows 10:
- Click on the Start menu
- Type in File Explorer and press enter
- On the left-hand side, you should see an iPhone option listed
- For windows 7 and 8:
- Navigate to the search bar on the Start menu, and type File Explorer
- It should be listed as one of the options
- You should find the iPhone listed as an option
If you are unable to locate your device, double check that the device is actually plugged into your computer and that it’s on. Once you have successfully located your iPhone within File Explorer, you are now ready to transfer your photos to your computer.
Step Three: Transfer Photos from iPhone to Computer
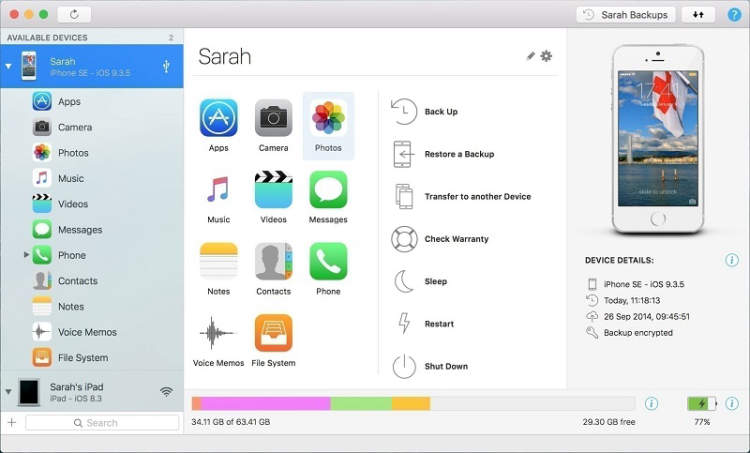
Now that iTunes is configured, the next step is to sync your photos from your iPhone to your computer. To do this, connect your device to your computer with the USB cable that came with your iPhone. Once your device is connected, iTunes should automatically open.
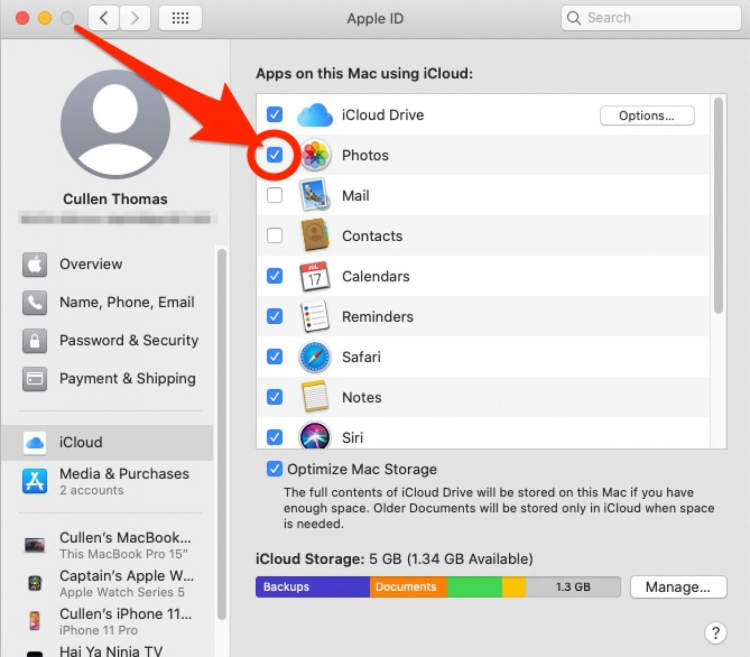
You can then select your device in iTunes, choose Photos from the list of options, and click Sync Photos. Make sure “Sync photos from” is set to the application you used to download photos to your iPhone (iCloud, Google Photos, etc.). Then, click the “All Photos and Albums” option in the drop-down menu to sync all photos from your device.
Once the sync begins, iTunes will download all your photos to your computer. Depending on the number of photos on your device, this process may take a few minutes. When the sync is complete, all your photos will have been transferred from your iPhone to your computer.
Finally, make sure to eject your device in iTunes before disconnecting it from your computer. This ensures that all syncing processes have been completed before your device is disconnected.
Conclusion
In conclusion, transferring photographs from an iPhone to a computer is an easy and straightforward process. The methods range from utilizing services provided by Apple to using a USB cable to move the images. Furthermore, there are also third-party programs such as AnyTrans that can be used to take advantage of additional options. Ultimately, each of the methods can make it simple to access smartphone photos on a laptop or computer.
The complexity of the task comes down to how the user wants to manage the pictures and the amount of effort they are willing to invest. Considering that most of the solutions require no technical knowledge, it should be possible for anyone to quickly transfer their phone photographs. Therefore, no matter what the user’s requirements are, the options discussed should make the transfer process seem like a breeze.